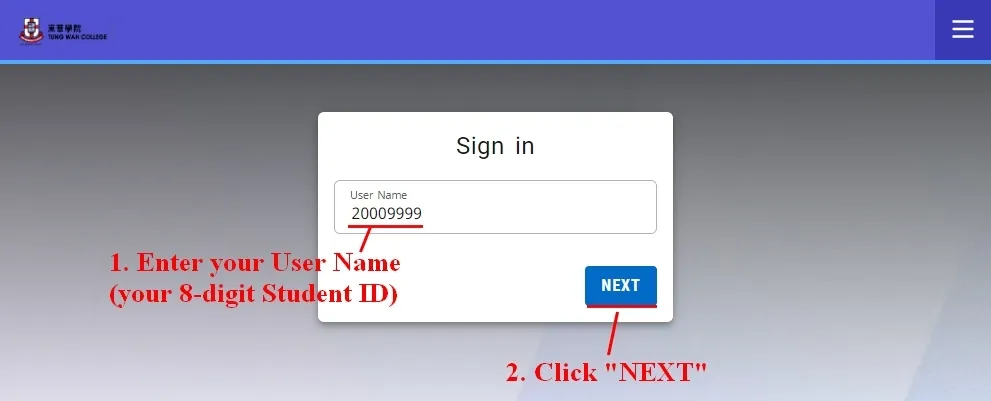
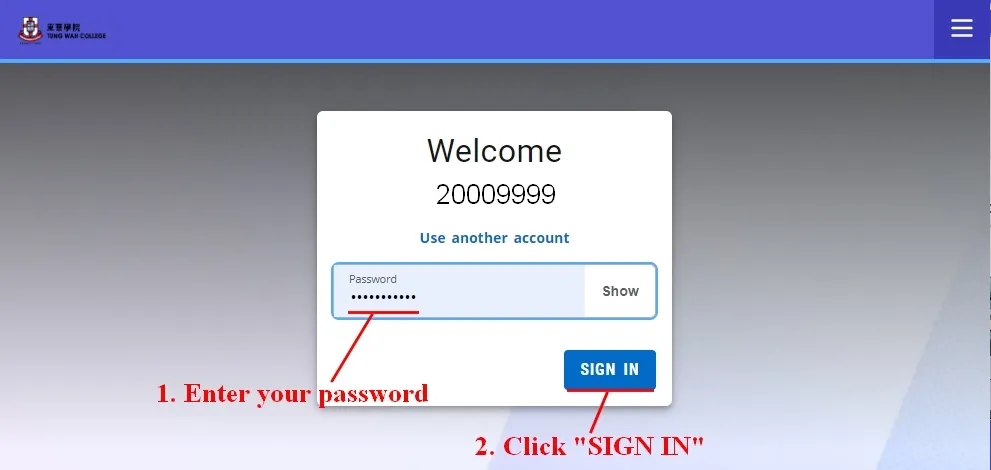
Log in PowerCAMPUS Self-Service (http://selfservice.twc.edu.hk) with your TWC computer account.
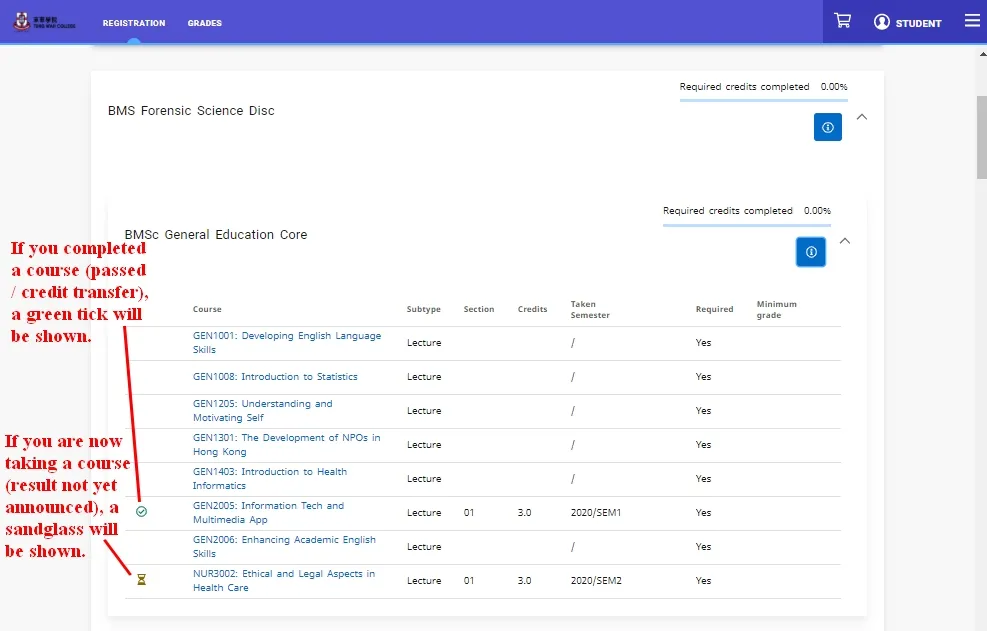
- Click “Registration” > “Academic Plan” to access your Academic Plan.

- The required/ elective courses are listed in your academic plan. You can check your progress by looking at the symbols.
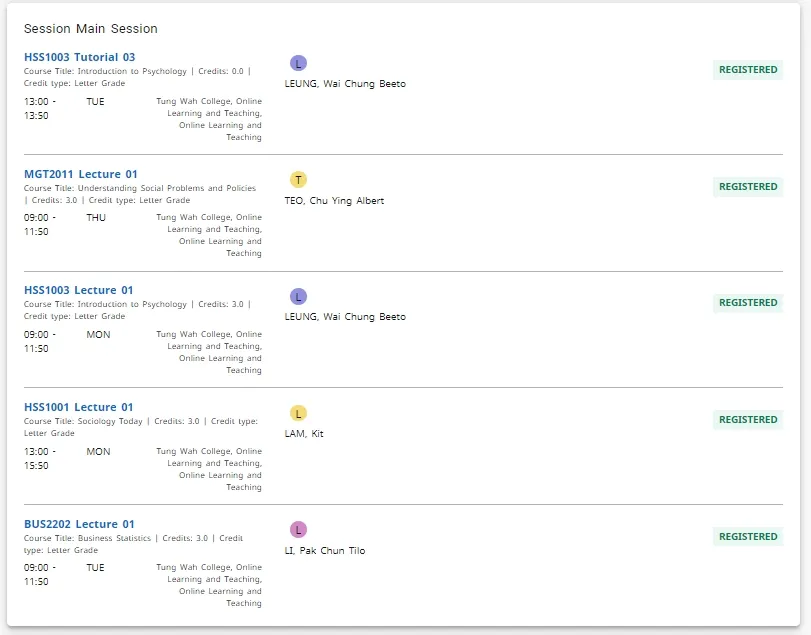
- Click “Registration” > “My Schedule” to view your Class Schedule. You can view your class schedule in either “Calendar” format or “List” format
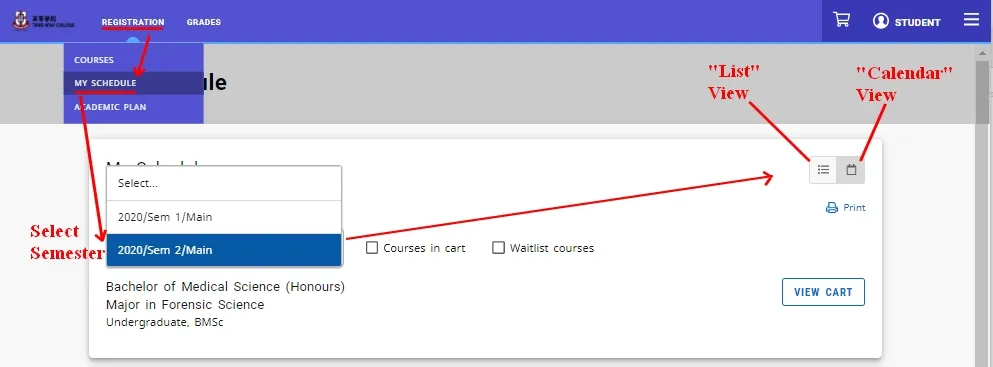
- Student Schedule in “Calendar” format
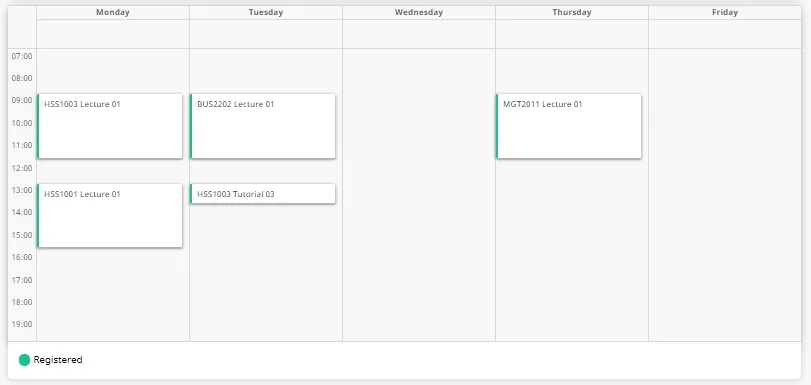
- Student Schedule in “List” format
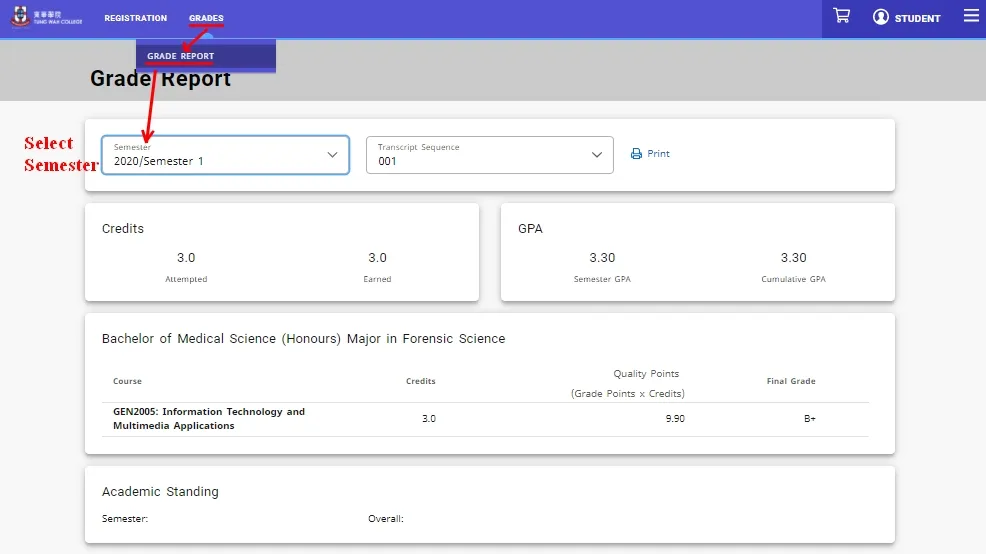
- Click “Grades” > “Grade Report” to view your Grade Reports for different semesters.
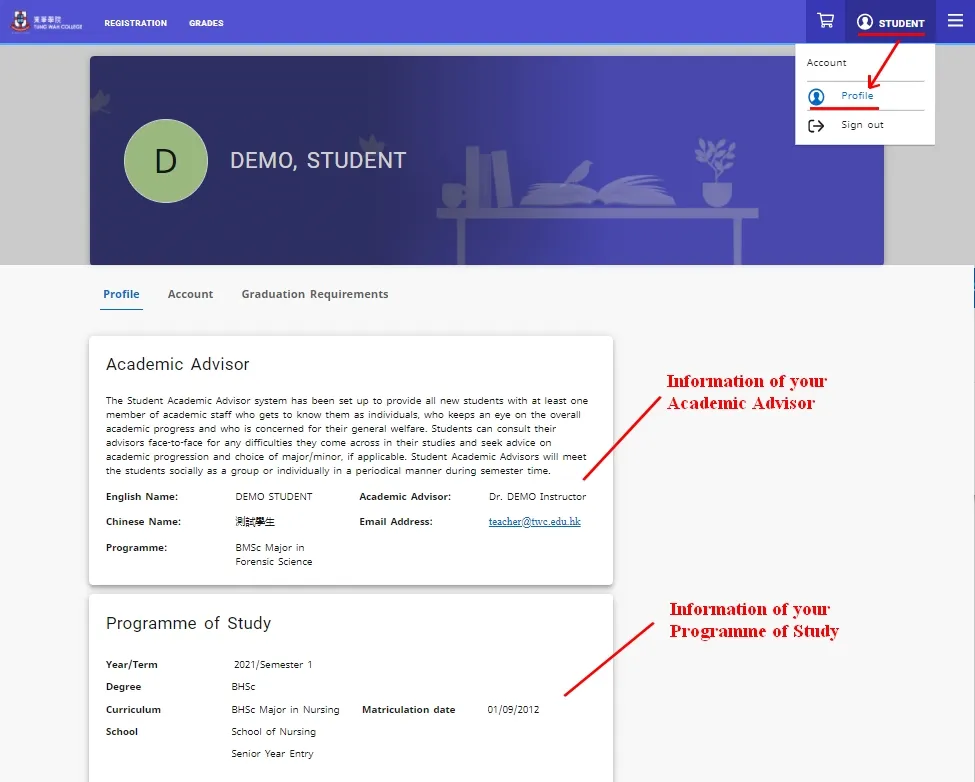
| Academic Advisor & Programme of Study |
|---|
| Click “Profile” to view information of your academic advisor and your current programme of study. |
|
| Personal Information |
|---|
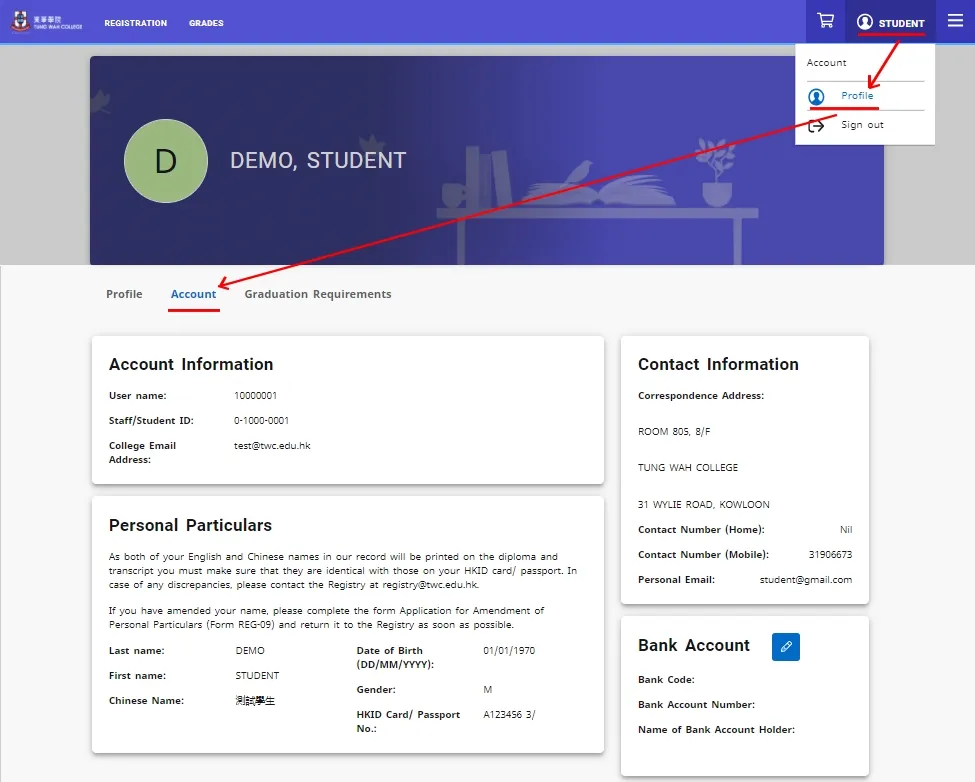
| Click "Profile" > "Account" to view your personal information. |
|
| Graduation Requirements |
|---|
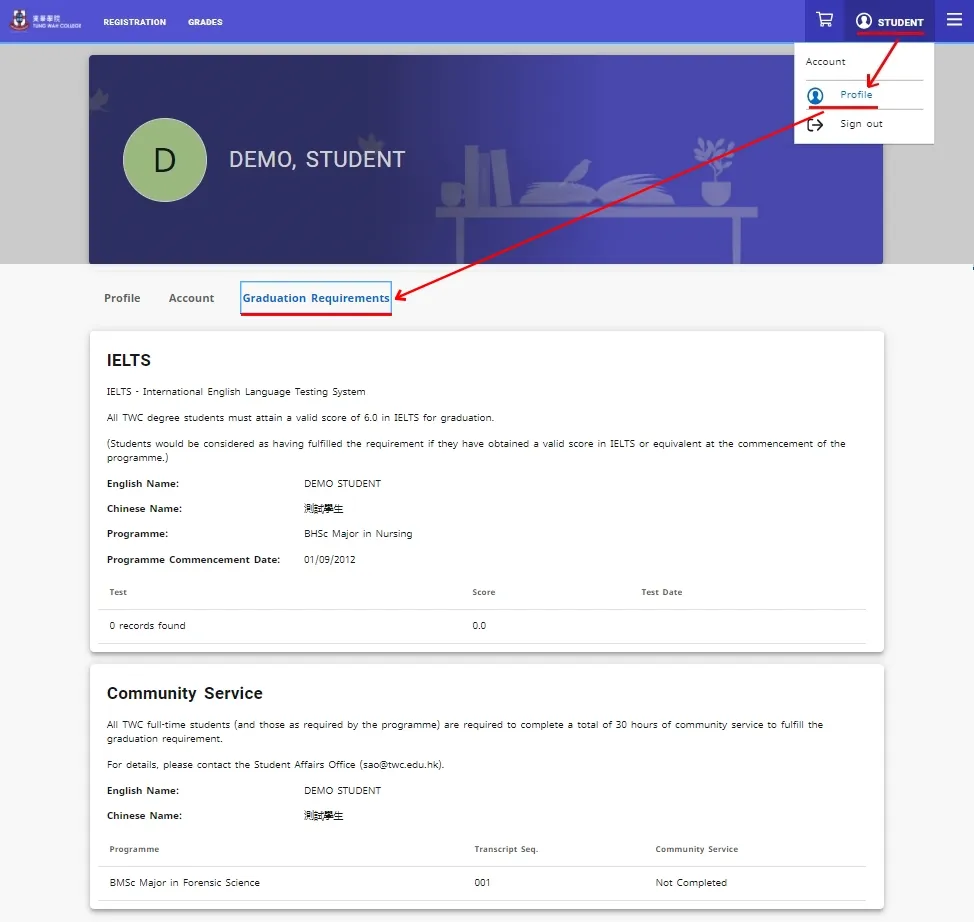
| Click "Profile" > "Graduation Requirements" to view your completion status of IELTS and Community Service Programme (CSP). |
|
| READ THIS FIRST!! Workflow for Course Registration and Course Add/Drop |
|---|
Important Note: Courses are not successfully registered if they are only put into the cart but not proceed with registration.
Important Note: The target class must have at least 1 available seat and does not have time-clash with your course schedule. Otherwise, the system will not allow you to register the target class.
Important Note: Discipline courses which have been pre-registered to you are "locked" (i.e. cannot be dropped in the online system). You should contact the Registry for special add/drop before the course add/drop deadline. |
| (a) Put Course Section(s) into Cart |
|---|
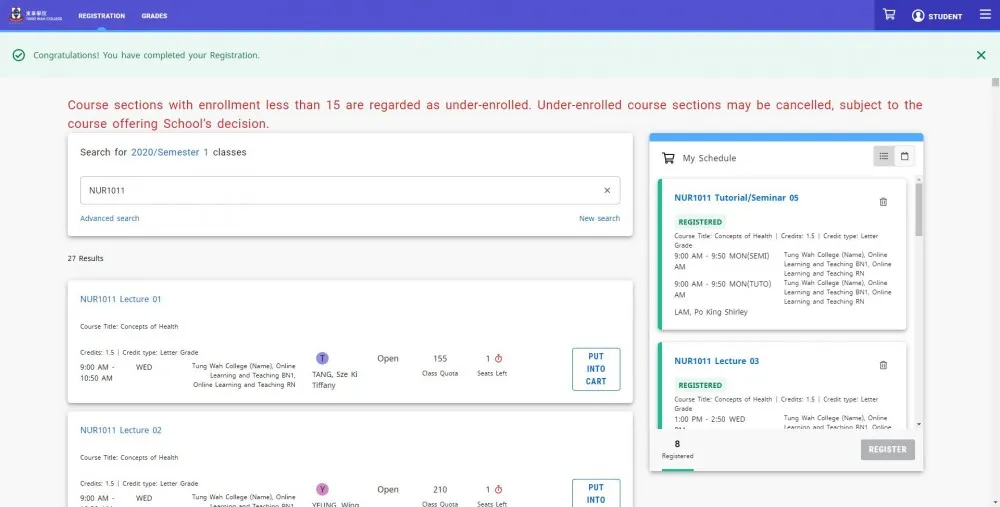
Student can search the course in by clicking “Registration” > “Courses” Click “Registration” > “Courses”, then type a course code (e.g. GEN1304) into the search box to search for sections. If the course is on offer, you will see the section information below the search box. Click "PUT INTO CART" for the desired sections. |
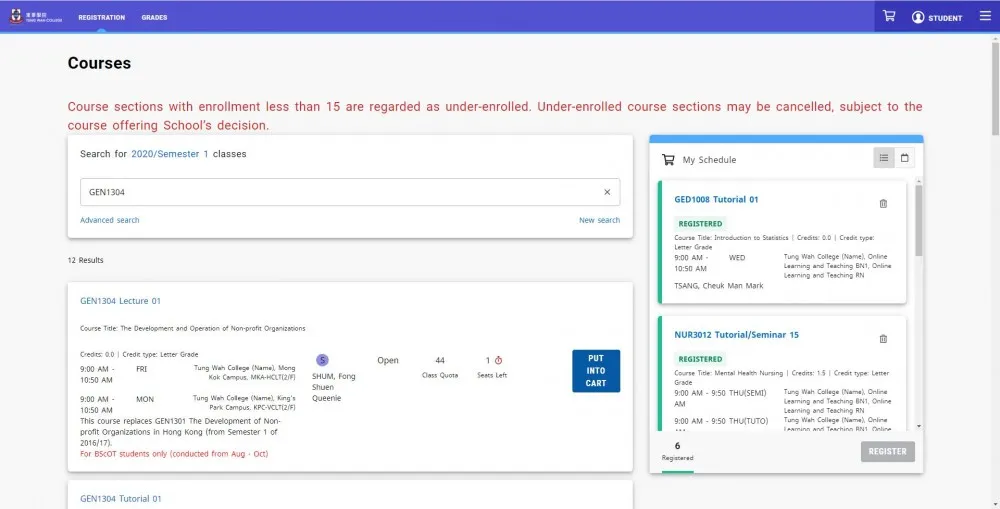
Warning: You have not successfully registered/added the course after adding it to the Cart. You have to proceed with the steps in "(b) Register Course(s) after Putting into Cart" |
| (b) Register Course(s) after Putting into Cart |
|---|
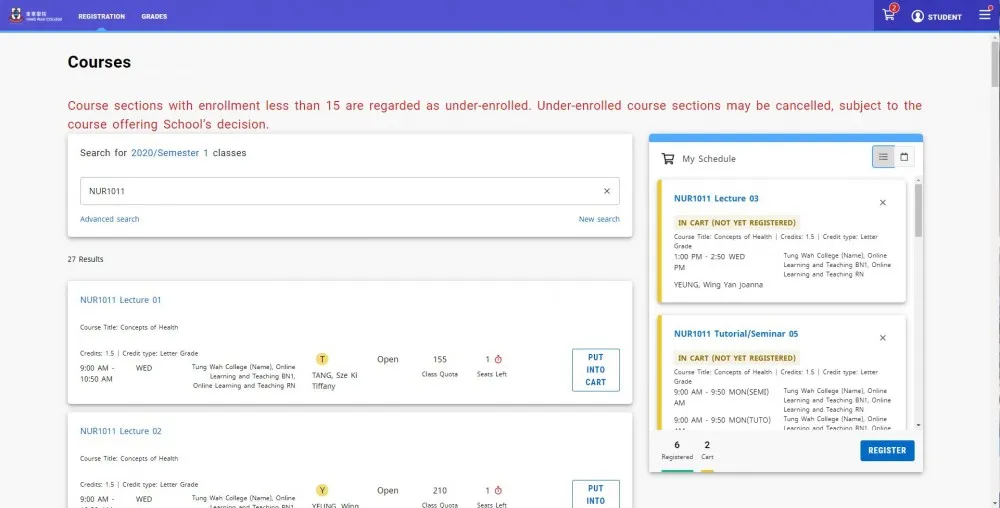
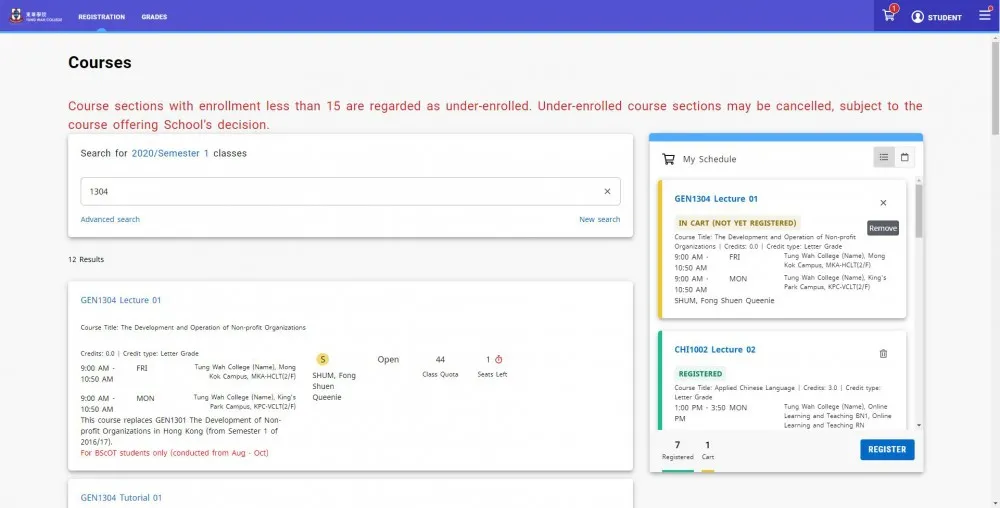
| After putting the desired sections into the cart, the sections will be shown in "My Schedule" with yellow label. Click "Register" to register the sections in cart. |
|
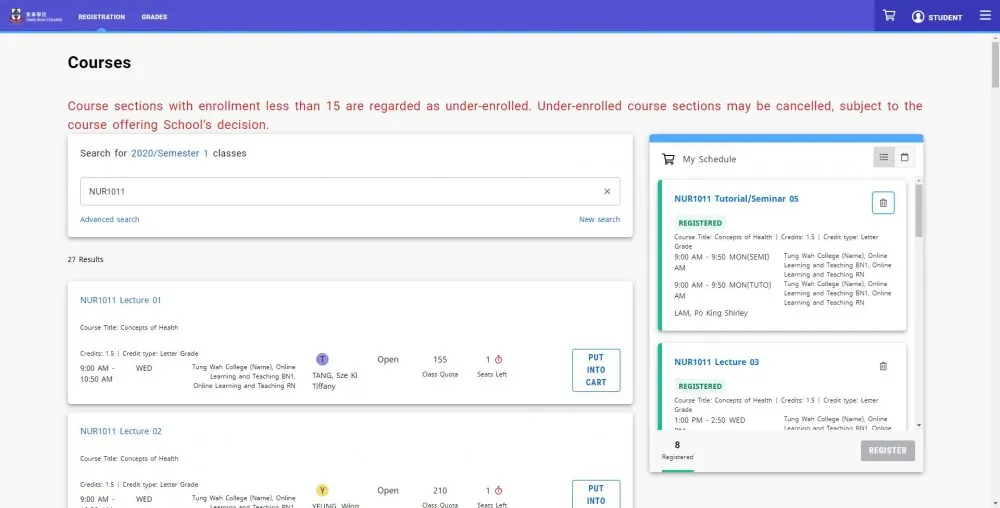
| After successfully registering the course(s), the course sections will be shown in "My Schedule" with green label. |
|
| (c) Remove Course Section(s) from Cart |
|---|
| Click “Registration” > “Courses”, the sections in cart are shown in "My Schedule" with yellow label. Click "X" at the upper right corner of the course section to remove it from the cart. |
|
| (d) Drop Registered Course(s) |
|---|
| Click “Registration” > “Courses”, the registered course sections are shown in "My Schedule" with green label. Click the "drop" icon at the upper right corner of the registered course section to drop it. |
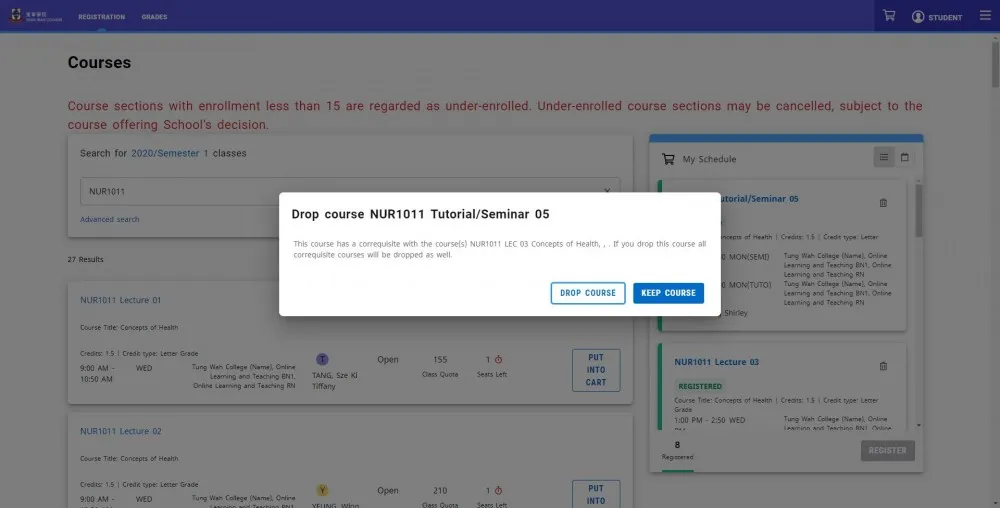
Warning: You should think twice before clicking the “drop” icon because you may not be able to register/add the course section again if other students take your seat and the section becomes full. |
| After clicking the "drop" icon, a warning message will be displayed. If you really wish to drop the course, click "DROP COURSE" to confirm dropping. If you decide not to drop the course, click "KEEP COURSE". |
|